Please use the following search box to quickly locate valuable FAQ support guide.
You can use key words or full statement to search by. Alternatively you can simply browse by Category belowDTX Studio - Setup Watch Folder
In DTX Studio, create Watch Folder in following - Contact DTX Studio to properly configure and setup the Watch Folder.
How to set up DTX Studio to launch from EzDent-i
Launch and Open EzDent-i as normal.

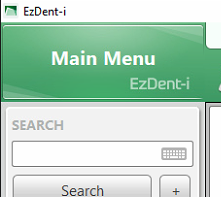
Select the Main Menu option on the top left corner of the software.
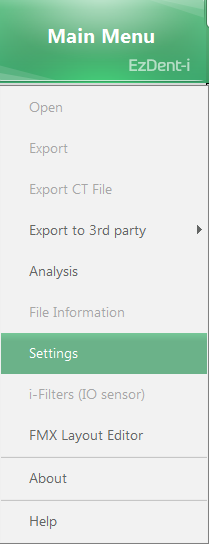
3. Select Settings.
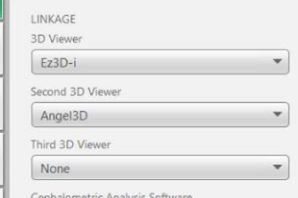
In the Environment section, select the Linkage/Email tab.

Under Second 3D Viewer, select the Angel3D option.
Under Second 3D Viewer Path, Click the  and navigate to the DTX Studio application executable
file: “C:\Program Files\DTX Studio Clinic\DTXStudio.exe”
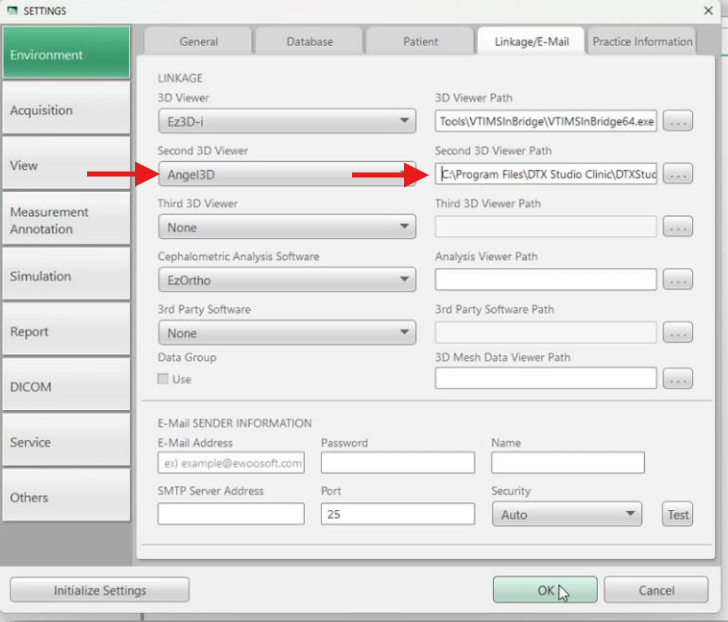
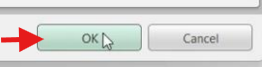
Click 'OK'
Restart the EzDent-i; if DTX was set as the primary viewer - double click the CT thumbnail image however if selected as Second 3D Viewer right click on the CT thumbnail image to launch DTX Studio via the Angel3D option.
Workflows
I. New CT needed:
1. EzDent-i: Create or retrieve record that matches DTX Studio / Practice Management Software info with First, Last, Gender and DOB
2. EzDent-i: Acquisition -> CT -> Capture new CT image
3. DTX Studio: Open patient record -> Capture -> Vatech 3D -> Choose matching dataset from Watch Folder and click Import
II. Existing CT in EzDent-i but patient does already have a record in DTX Studio:
1. EzDent-i: Right click on thumbnails and choose "Export" then select Watch Folder shortcut saved to Desktop pointing to path configured above
2. DTX Studio: Open patient record -> Capture -> Vatech 3D -> Choose matching dataset from Watch Folder and click Import
III. Existing CT in EzDent-i and patient does not already have a record in DTX Studio:
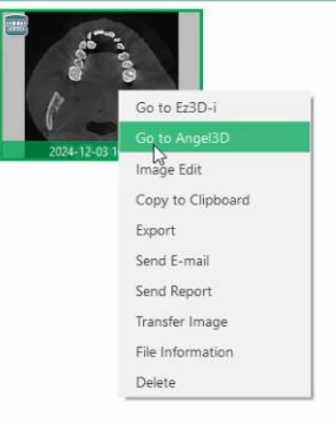
1. EzDent-i: Right click on thumbnails and choose Go to Angel3D
2. DTX Studio: Verify patient's First, Last, Gender and DOB then click Import to create a new record with the selected image in DTX Studio