Please use the following search box to quickly locate valuable FAQ support guide.
You can use key words or full statement to search by. Alternatively you can simply browse by Category belowDownload and install EzEval Tool & Manual.
EzEval software will self-guide you through each step by clicking 'Next' to insure the platters are loaded properly.
Download the EzEval Tool and Manuals Following the installation manual. Use this guide as a reference in conjunction with the downloaded guide for checking.
Extract the downloaded ZIp and run the EzEval Setup wizard and follow the included EzEval manual for installation and usage.
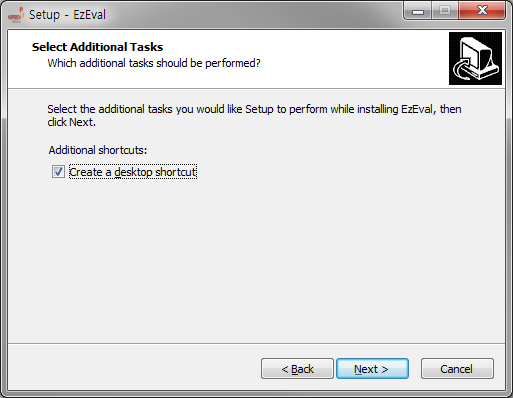
Select Create a desktop shortcut field and click next to finish installation.
Setting up phantom.
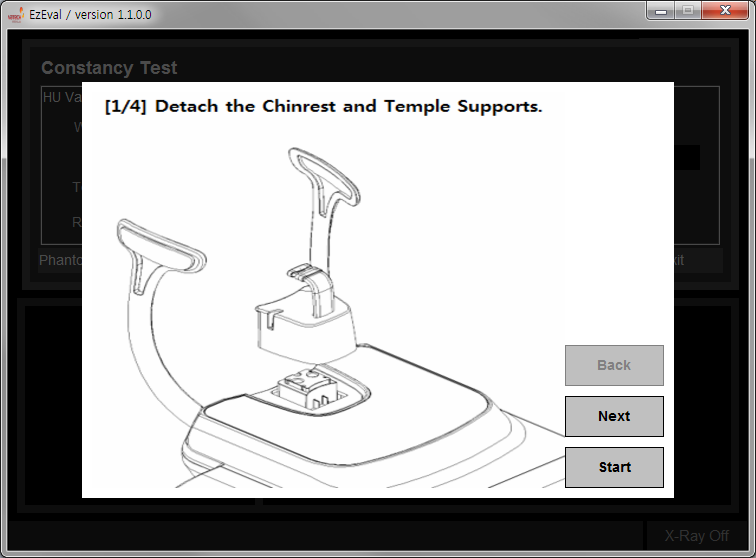
First remove the temple supports, bite stick; bite block and any other accessories from the chin rest, and click Next.
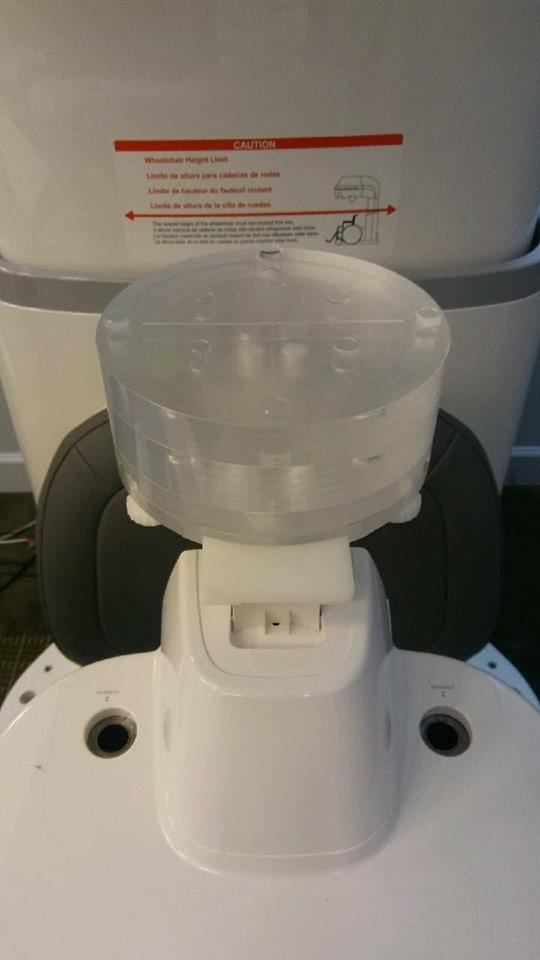
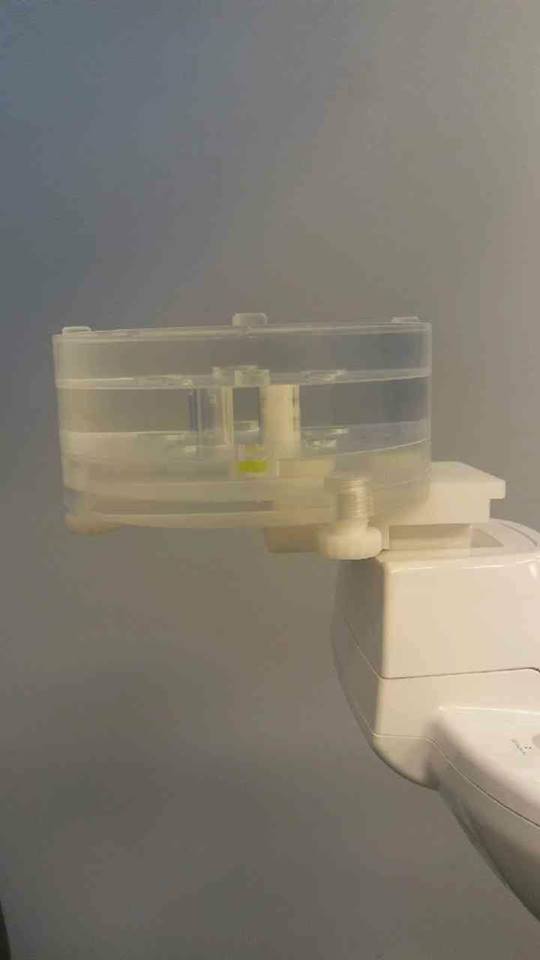
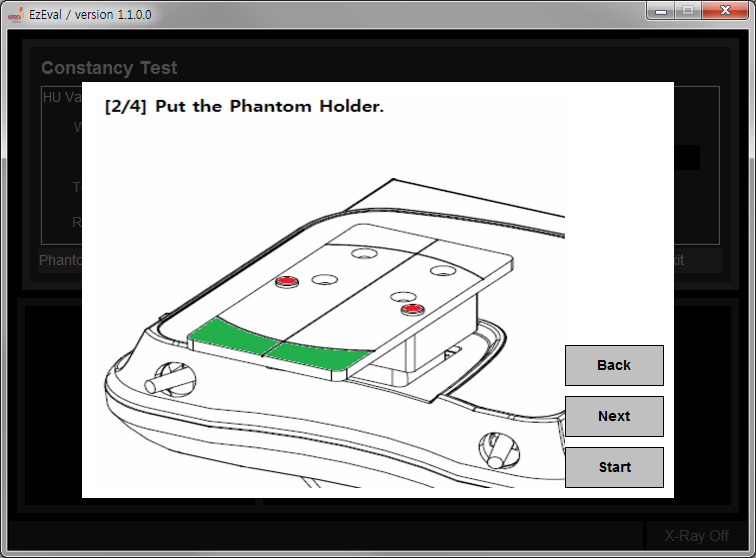
Place the base phantom holder on the unit as shown and click Next.
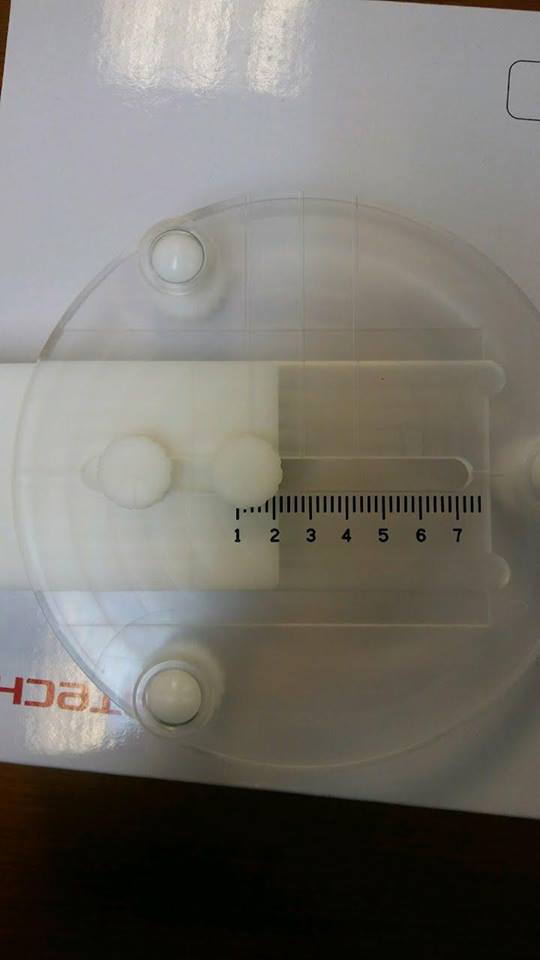
Place the lower phantom adjustable jig on the Phantom holder.
Note: For newer phantom bases, Adjust the center position of the platter accordingly by releasing the thumb screws and moving the platter so that the alignment beam is center of the platter.
Next we start placing the CT number platter and Uniformity disks according to the note: section below based on machine type. (Please see below reference for placement of the platters)
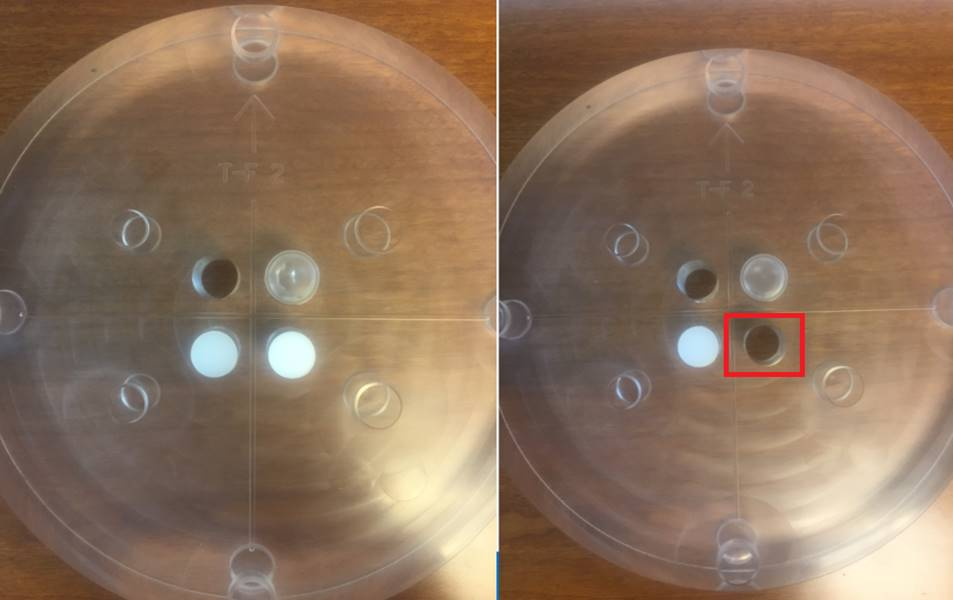
Note: Verify all parts to the phantom are present. Any missing parts not inserted into the CT number phantom might result in incorrect values or errors from the software doesn't read CT number value.
Good: Bad:
Note: When mounting the Phantom on PaX-i3D Green device, CT
Number Phantom should be located on the upper side with uniformity platter middle.
Note: When mounting the Phantom on PaX-i3D Smart3D/RC, Green CT2 (Green 18) and Premium (Green 21) , CT
Number Phantom should be located in the middle, with uniformity disk on the upper side.
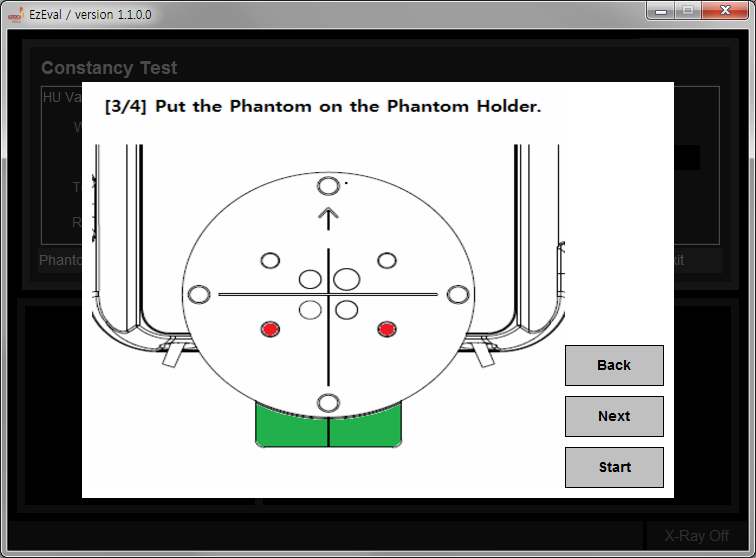
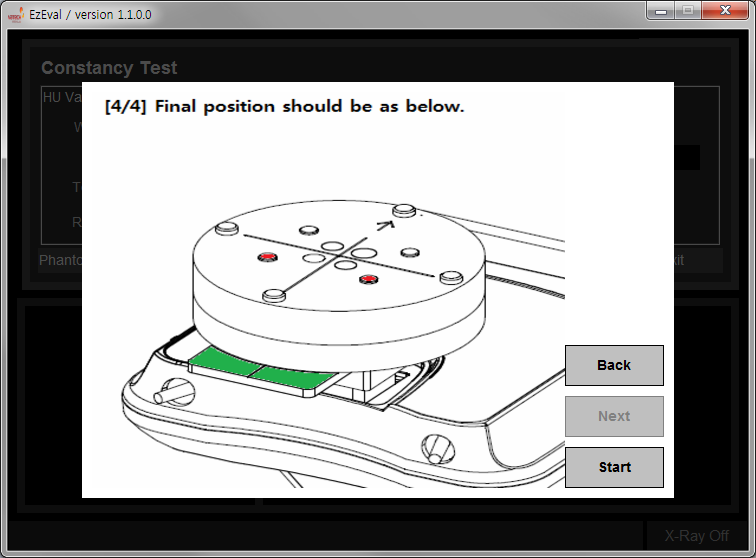
Example from Pax-i3D Green Premium: Uniformity disk is on top, CT number Phantom middle, supporting base with adjustment bottom, base jig.
