Please use the following search box to quickly locate valuable FAQ support guide.
You can use key words or full statement to search by. Alternatively you can simply browse by Category belowFirst you will want to have the chart already entered into Easydent4, pull the chart up so you can confirm the chart number, we recommend writing it down as we will need it later on.

Next you will need to open a browser window, you can access this by hitting the Start button on your computer and then opening up "Computer" or "This PC" depending on your windows version.
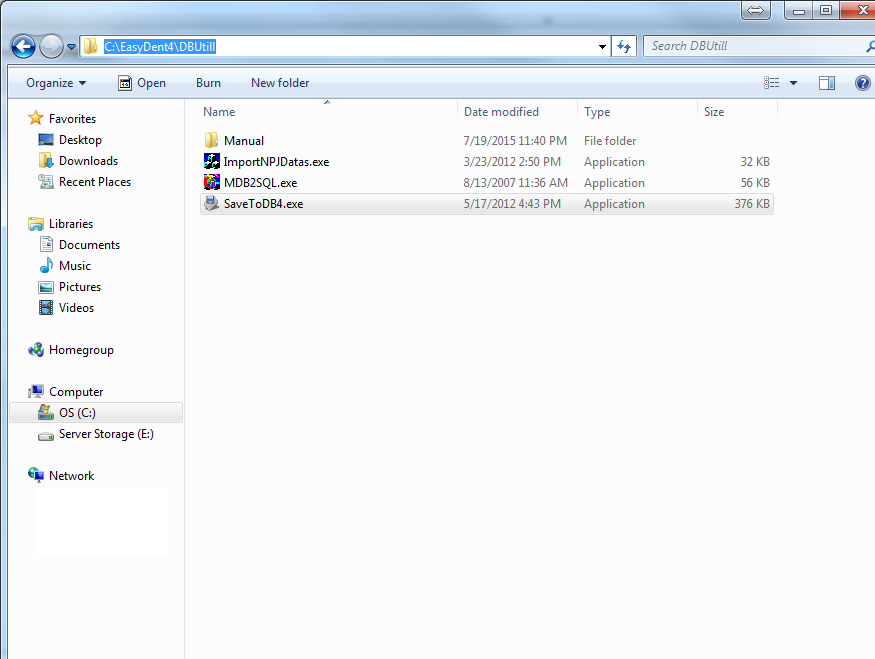
You will then want to navigate to the following location: C:\Easydent4\DBUtill\ (You can also copy this path and paste into your windows browser) Once you are in the folder select and open the "SaveToDb4.exe" as indicated in the below screen shot.
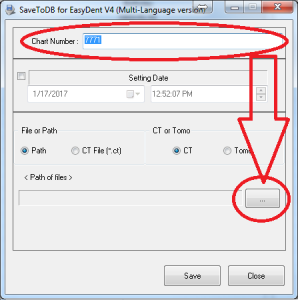
Now that you have SaveToDB4 open the first thing you will want to do is enter the chart number, in this case we used chart number 7771, so entered into the Chart Number Field as shown below.
Once you have entered the chart we will need to select the file path we have the dicom data. In order to browse you will need to press the button "..." as shown in below image.
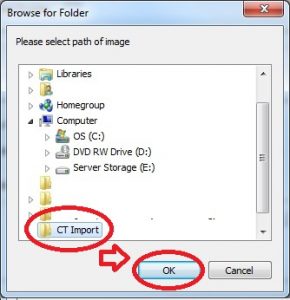
You will want to now browse to the folder the dicoms are located in. As previously noted for this guide we have used the folder on the desktop called "CT Import" and click OK as shown below.
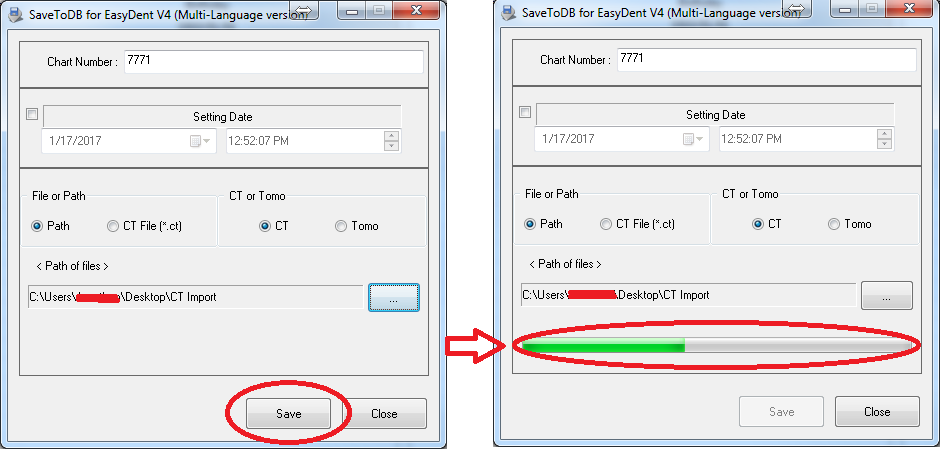
Now you will have both the chart number and file path selected; you will now hit Save as indicated below. When saving starts you will see green progress bar; please do not close the window or shut down PC while saving is in progress.
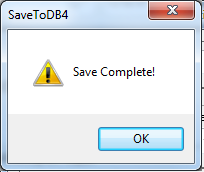
Once saving is complete you will have message as shown below; click ok to confirm.
Finally you will need to go back to the open chart in Easydent4 and click the patients name to refresh the database; once done you should now see the imported CT thumbnail.
