Please use the following search box to quickly locate valuable FAQ support guide.
You can use key words or full statement to search by. Alternatively you can simply browse by Category belowPlease note the following procedure applies to All Pax-i, Paxi3D, Paxi3D Green , Smart3D units and some other P1 Equipped units that use "NCSW" (New Capture Soft Ware) as show below in the screen shots.
Previous Legacy and Class B units are not equipped with this function.
Opening Patient Chart & Launching Capture program:
The procedure for re-saving for all modalities; Pano, Ceph, CT are all basically the same except the mode we pick, also if you are 'twaining' (Capturing from a 3rd party software) the procedure is the exact same however you will not call from EzDent-i rather you would go through normal capture sequence to open the capture program
First it is HIGHLY Recommend to restart the PC first before proceeding:
CleverOne / EzDent-i: First open the patient chart in this example we are using our native Vatech Software - EzDent-i and follow the below steps.
Twain/SDK: such as Apteryx X-Ray Vision, Dexis; EagleSoft, and various others - twaining or SDK use the normal method to open the chart from the image management software you normally take the images from and launching as if to take a scan from the patient chart - skip to Choosing modes in Capture program section below.
Video Step by Step
Step by Step
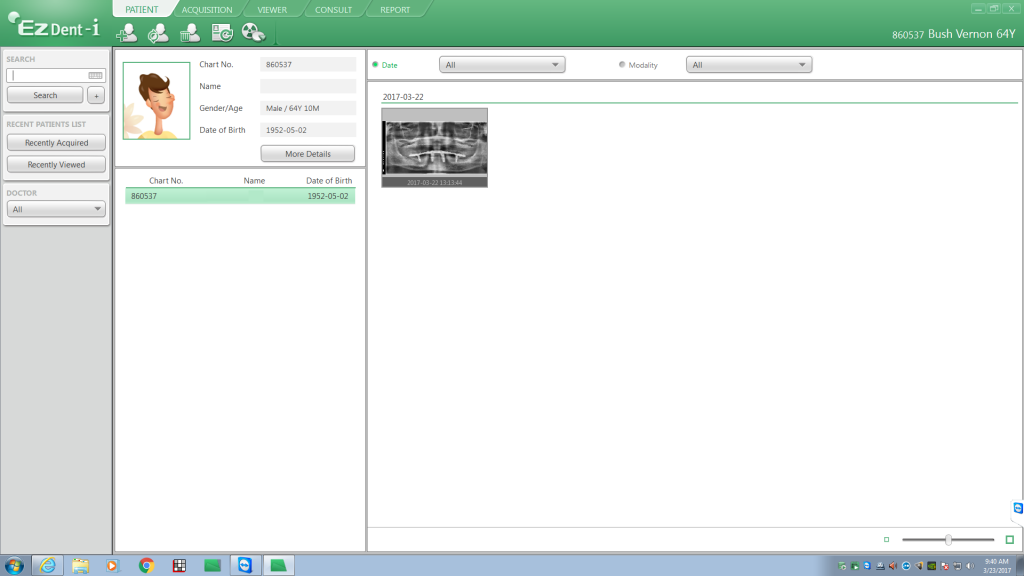
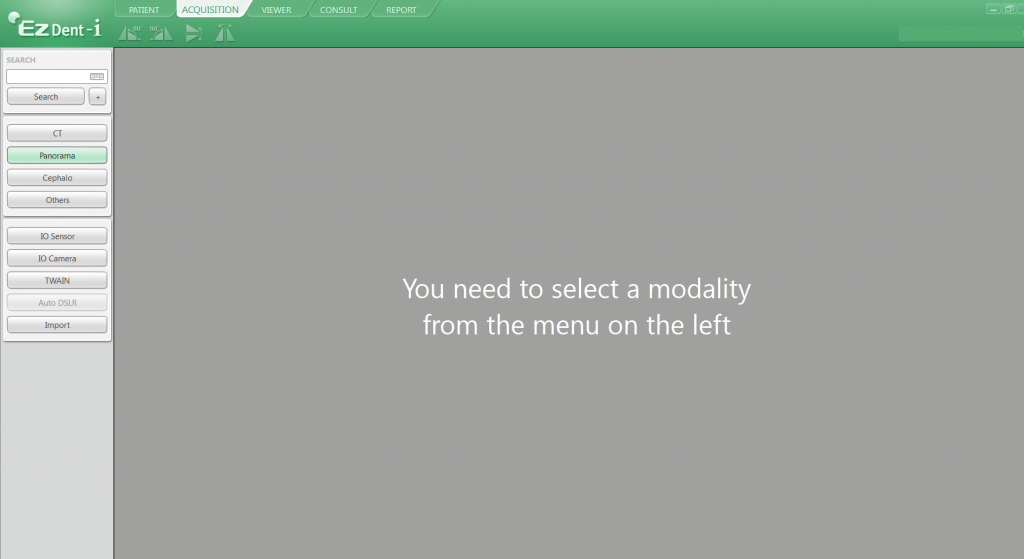
Next you will want to hit the acquisition tab like normal to capture an image, choosing the proper image type. In this case we are using Pano for the example.
Choosing modes in Capture program:
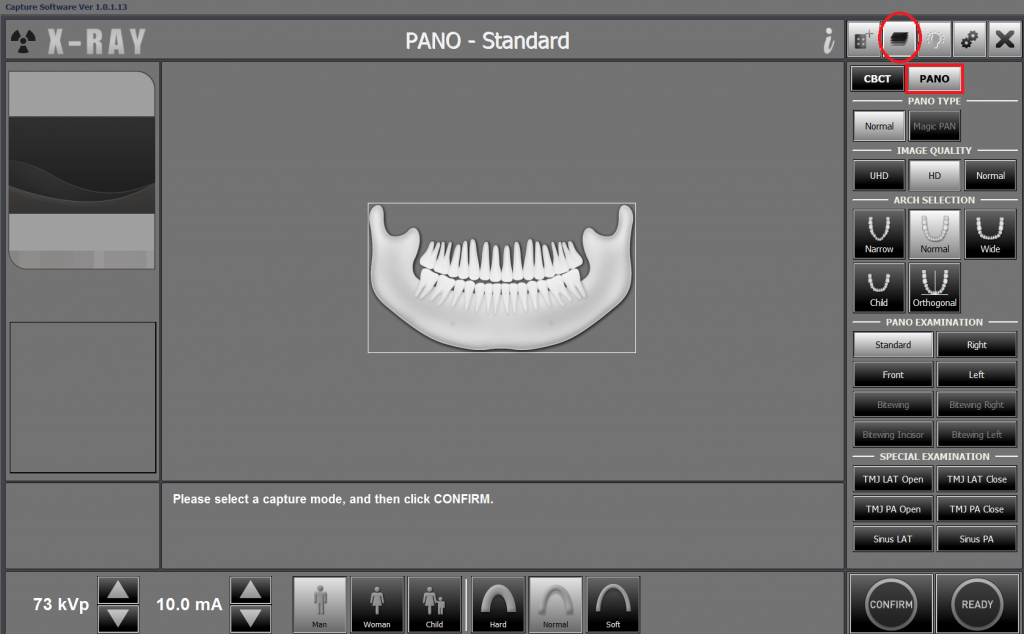
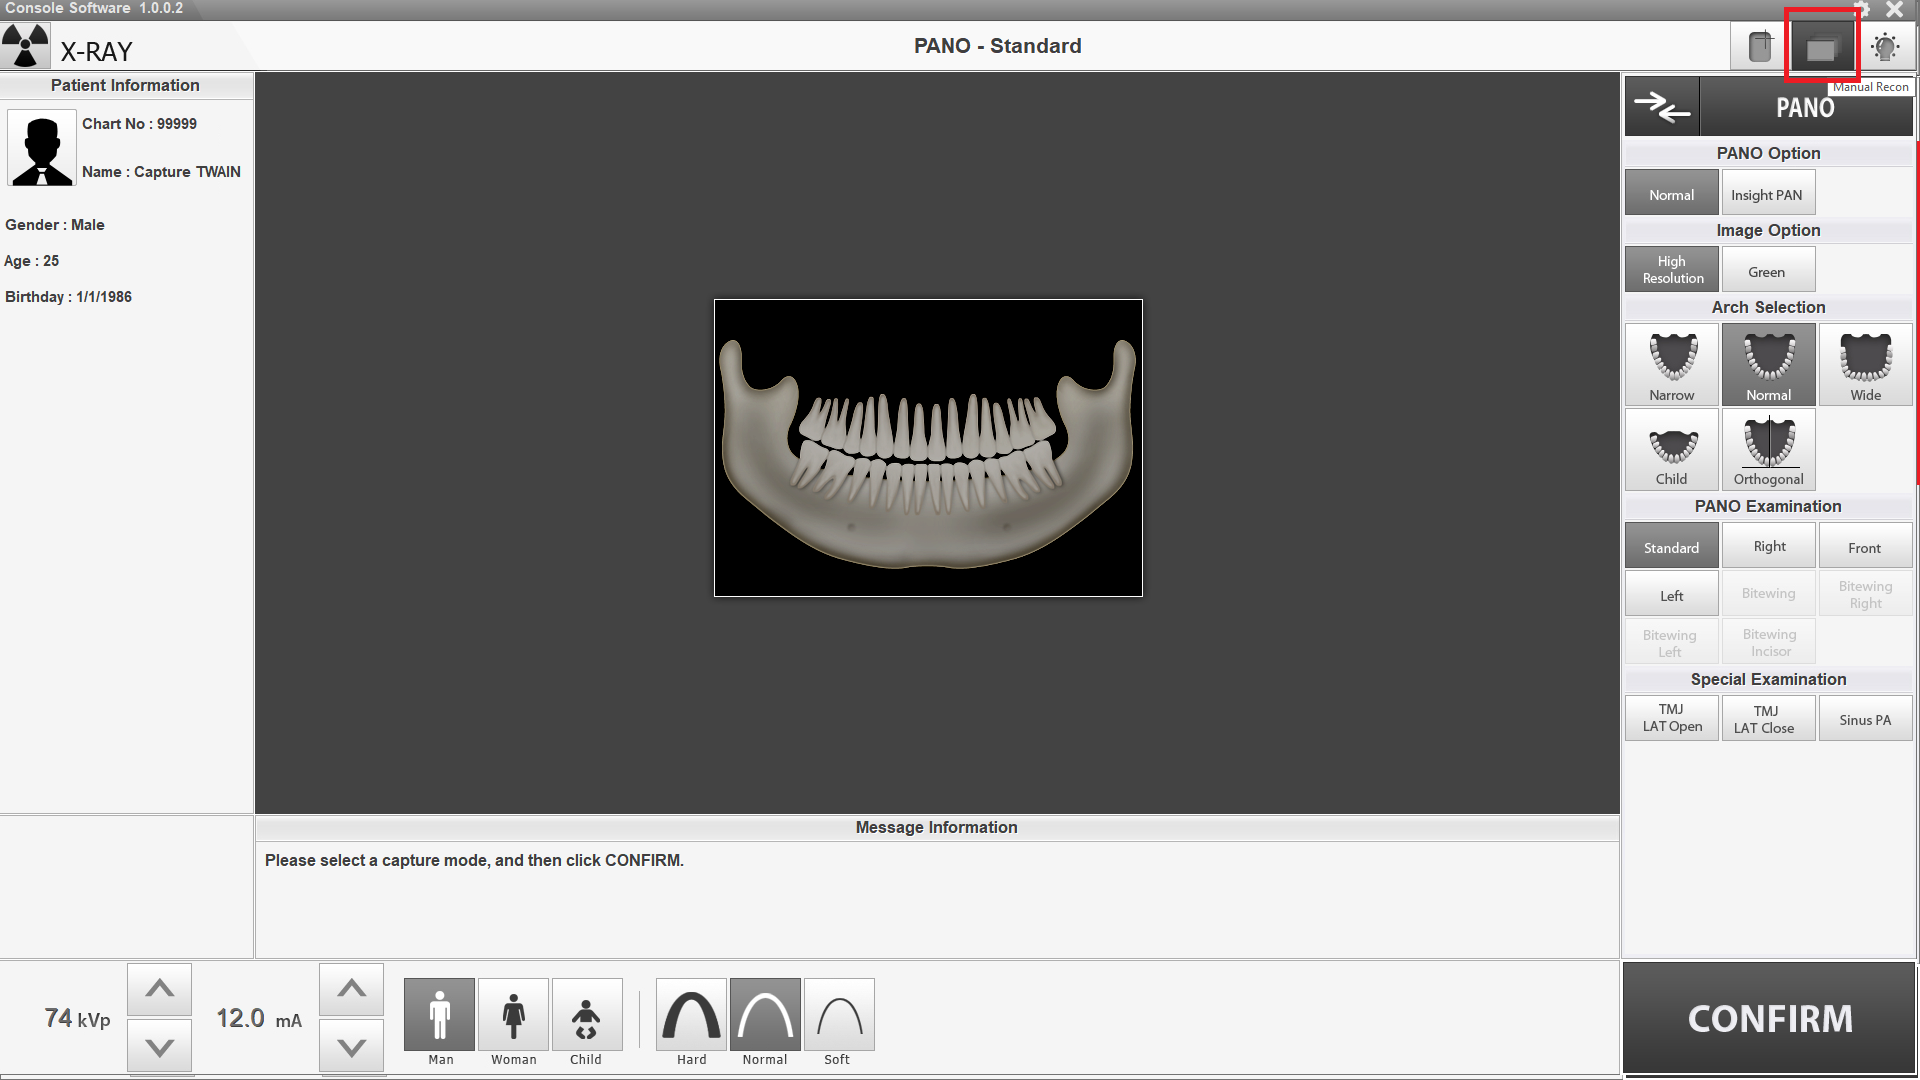
Once you launch the capture program verify all the patient information is correct.
Note: Please note if twain capturing you will see generic information such as "Twain capture" or "Vatech Twain" which is normal.
You will want to choose the proper modality the scan was taken such as if the image was a CT image - choose the CBCT button, for Pano or Ceph you would choose the corresponding button accordingly.
For this example we have chosen Pano as outlined in red as shown below.
Opening Reconstruction mode:
Choose the reconstruction button which is located in the upper right hand corner. Note it is the 2nd button from the left and is circled in the below image for reference.
Generation 1 Capture Program:
Generation 2 Capture program:
Choosing Image for Reconstruction:
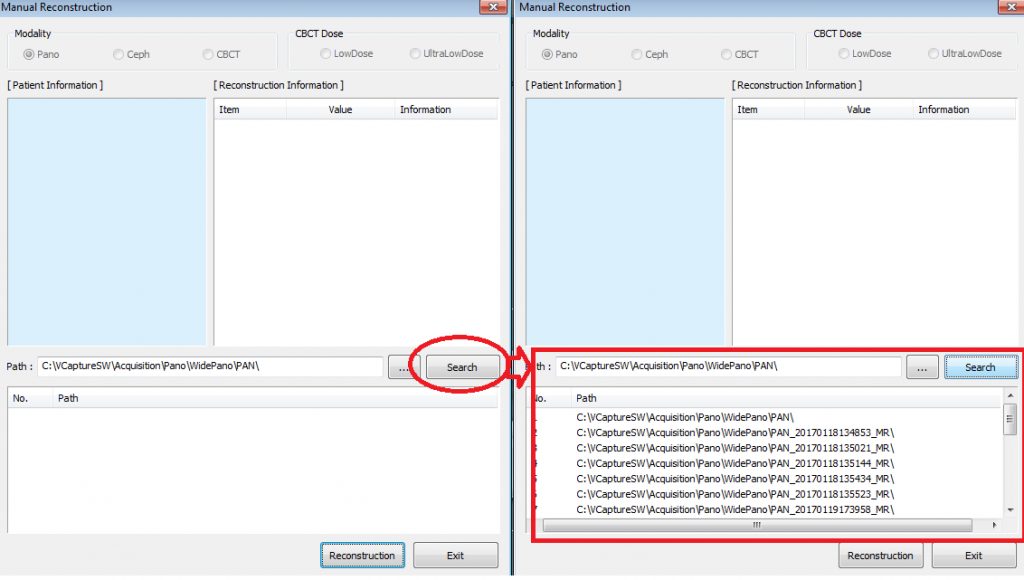
This will now open the reconstruction utility. In the image on the left as shown below the first step will be to hit 'Search" as circled.
Note: Do not change the file path or make any changes in this screen, just simply hit search to continue.
Next as shown in the right side image below ; after hitting search it will populate the recently captured image list.
To better understand how these images are organized, the first image is ALWAYS the very last image processed* rather manual reconstruction or last image taken. From there the 2nd to last* image taken will be the highest number and then goes in reverse order always ending in 2. as the oldest.
Example: Number 1. is very last image processed. Number 18 in this example is the 2nd to last, and number 2 listing is the very oldest*.
As you cycle through each entry - select the line entry based on the patient information displayed as shown below.
EzDent-i: Each line will include the patient chart information, Name, DOB, Gender and so on. You will cycle through each to verify the patient information as entered in the chart.
Twain/SDK: it will only say Capture Twain, you will need to know the date and time of the image acquired.
Each line name has a date time stamp code listed as 'Acquired Time', in this example - 20170322_131653 which is 2017 03 22 (3/22/2017) - and the time in military time - 1:16 53 seconds.

Image Reconstruction:
Once you have found the image you wish to reconstruct - click the reconstruction button.
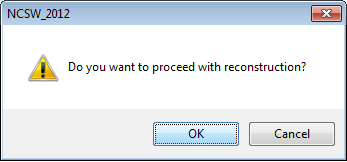
You will then be prompted to confirm reconstruction. Click Ok.
Saving the image:
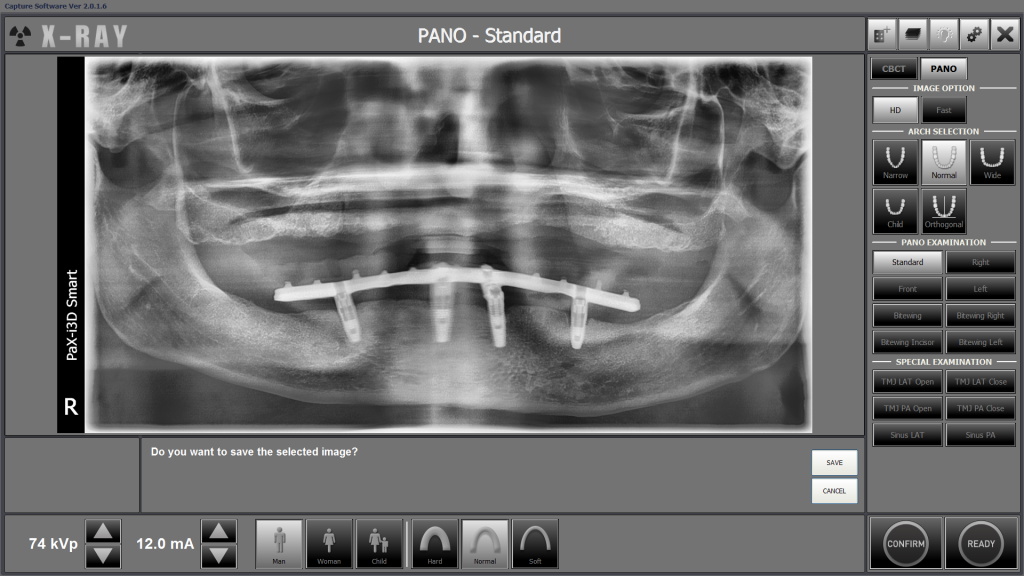
Once reconstruction is finished it will display the image as if you just finished the scan.
CBCT: Save the image normally
Pano: If you have Autofocusing you can choose from the 5 images and select the most desired, or if Auto focusing is not enabled; in either case click save normally to save the image.
Ceph: Save the image normally.
Verify the Image:
Once the capture program is closed after saving confirm the image is saved by refreshing the patient chart, confirming the image matches the patient anatomy.
Note: If the patient anatomy does not match the image reprocessed; please discard the image and retake the scan.